
Miniature Model of Ena Kim’s Cottage
I’m a huge fan of Ena Kim’s Cottage Girl Series. So much so that I decided to scratch build a 28mm-scale miniature built for D&D/tabletop, complete with exterior and interior. Here’s a whole slough of photos of the finished product, followed by a process of how I scratch built the whole thing. Since this was my first attempt into D&D-style miniature creating, the whole thing is crafted from the cheapest materials I could get my hands on, which meant pillaging the dollar store, thanks to the resourceful recommendations from Black Magic Craft.
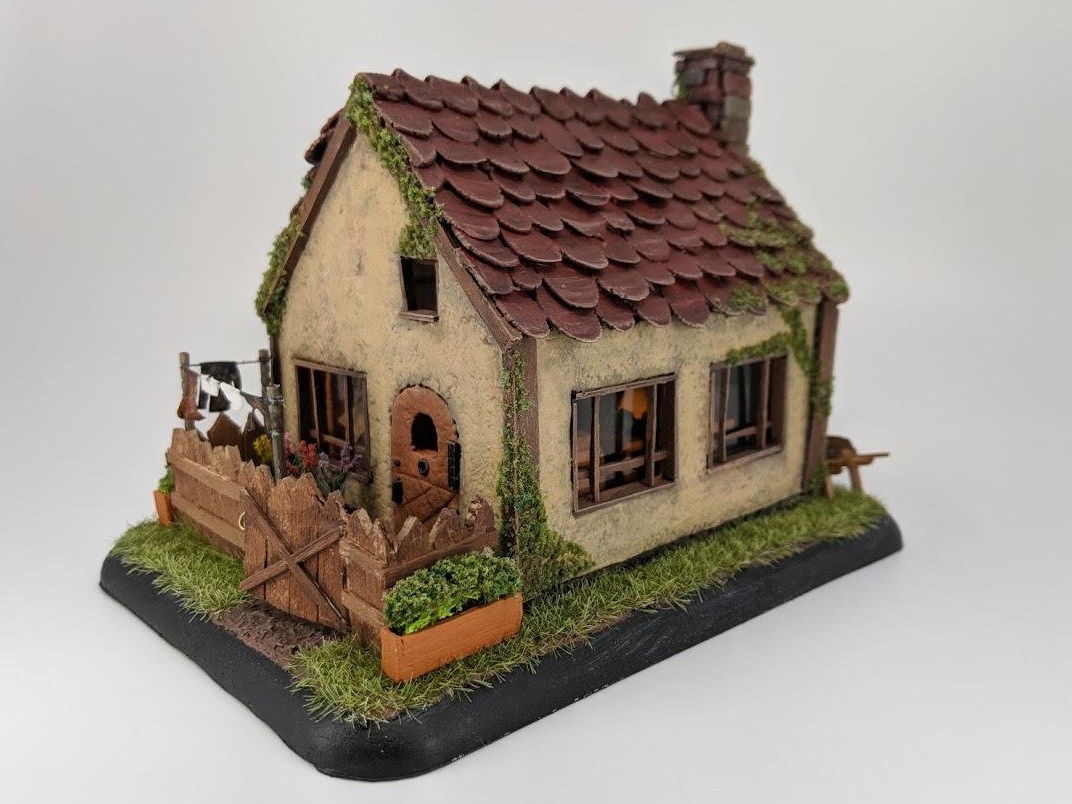


Just like Ena Kim’s original art, the cottage she designed also includes an interior, which I tried to faithfully recreate as well. The entire cottage lifts off the foundation and if one was feeling some tabletop, the building could easily be used in a D&D setting. Once the house is removed, the inside reveals a handmade interior complete with a glowing fireplace, a bed, table and chair, chest, kitchen counter, vegetables, and various home utensils. A twinkling tea light is set under the fireplace to offer a warm hygge glow inside.


Process Photos
And now let's go all the way back to the beginning to share some process photos of the whole thing.
Layout out the Structure
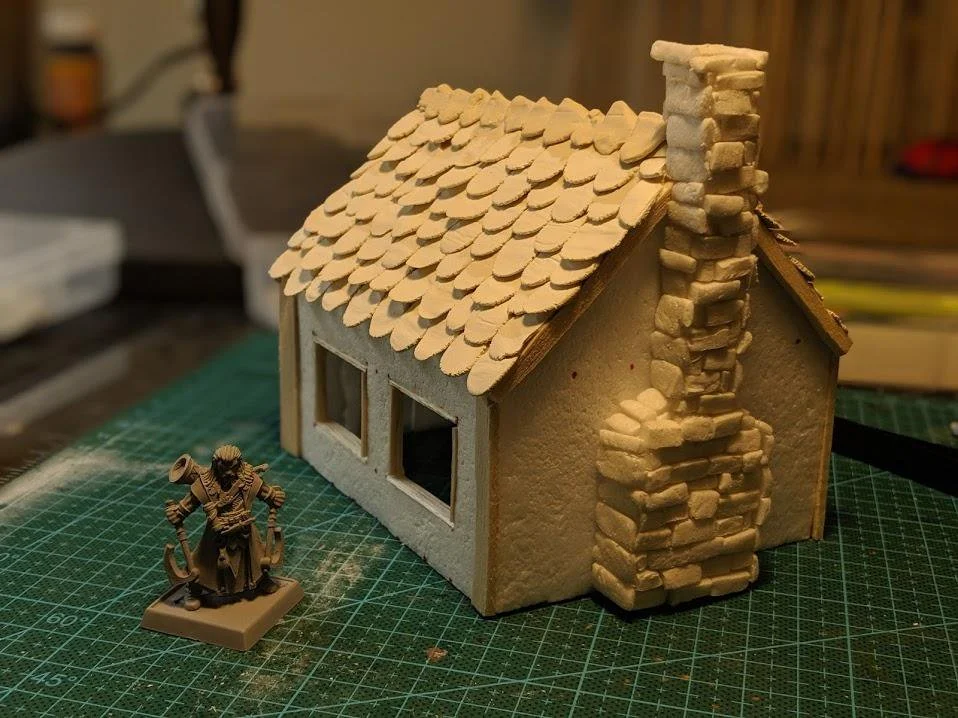
I started with a basic structure of dollar store foam core and textured it using a crumpled ball of aluminum. The general dimensions are fit for 28-mm scale minis with a 1.5” door and 2” walls. The roof is two sheets of thin balsa wood. Additional details for beams and window sills were cut from thin balsa sheets and glued into place. Note: 28-mm Dwarf for scale.


Building Interior Furniture
Next, the house needed some interior decoration. The wood furniture is made from toothpicks and balsa sheets trimmed to size and glued with tacky glue. They're stained using a mixture of 1:1 enamel paint and enamel thinner. It took a few coats to achieve the rich wood stain I was going for. The fireplace is made from tiny cut foam bricks that are coated in a mixture of matte Mod Podge and black acrylic.


Roofing and Foundation
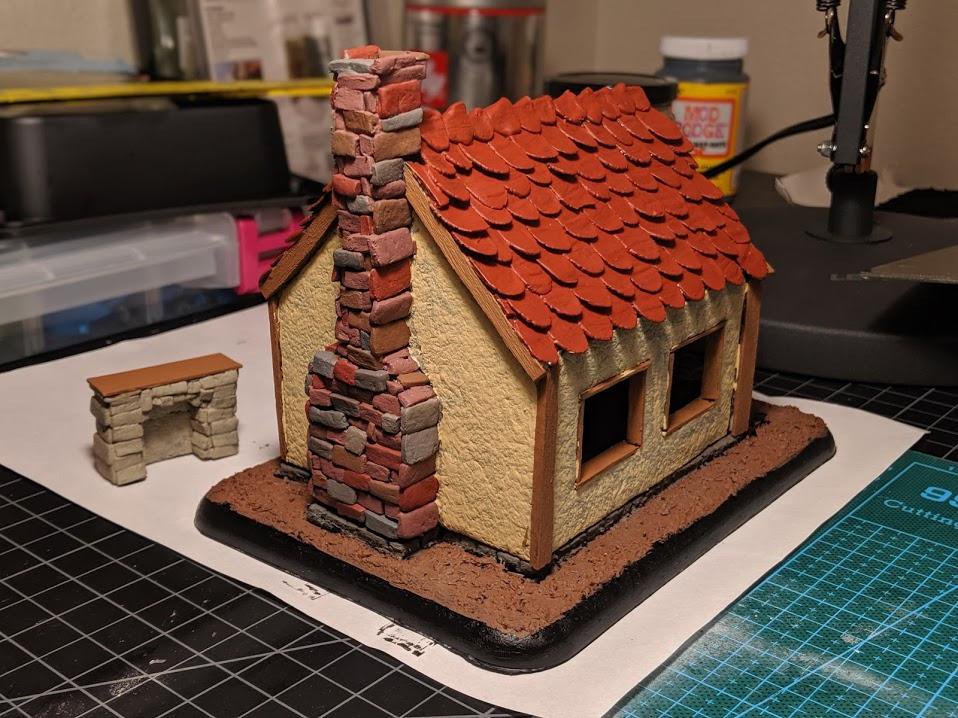
Ena Kim’s original cottage had what looked like clay shingles. In miniature building, laying wood shingles can often be solved with using cardboard (or balsa wood) squares then laid out in rows. Since these shingles were round, I had to come up with a different approach. My solution was to actually make my own clay shingles using air dry clay. A rolled out a long snake of air dry clay, then cut the length into small pieces that I eyeballed to be about the right size (almost the size of a tic tac). Next, the “tic tacs” were sandwiches between two pieces of parchment paper to prevent sticking, then rolling pinned flat. They were then left to dry for almost 48 hours.


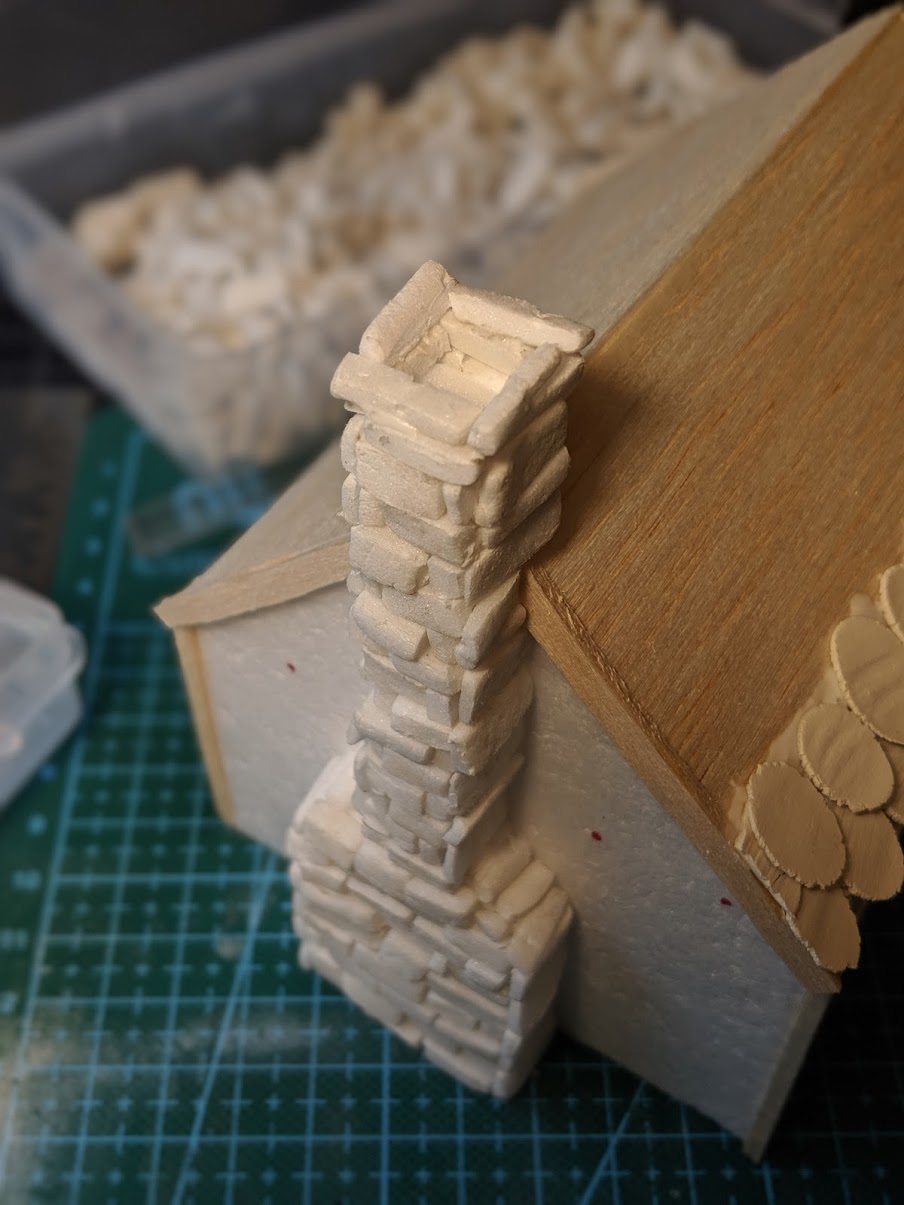
The finished shingles were then tacky glued to the roof starting from the bottom row and working up. The chimney, like the fireplace, is made of foam core bricks cut at various sizes and glued haphazardly to add some randomness and texture.


Time for a base and foundation. The black base is recycled from an old food container. The container had a nice rounded bevel, so I used a craft knife to cut around the entire edge, then flipped it over to use the under side as the diorama platform. Then on top, two layers of foam were added for a stone foundation and a mounting surface for a wood floor to be added later.
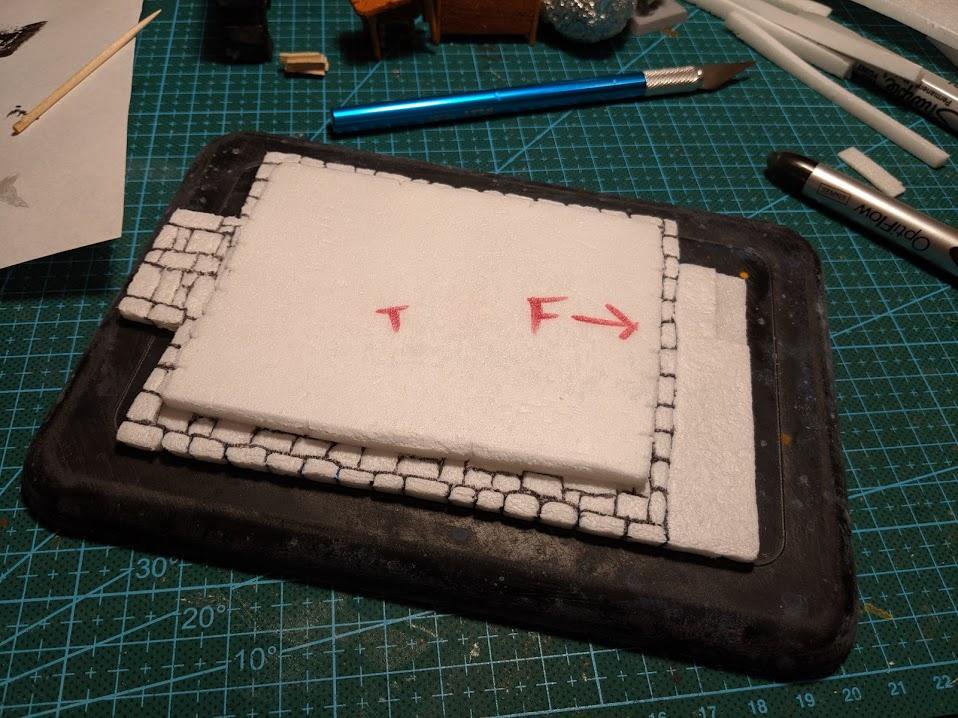
Building foundation using two layers of foam core and a recycled food container
Sealing and Priming
Now that the basic structure and base were complete, it was time to start painting. Using a mixture of matte Mod Podge and black acrylic (a recipe courtesy of Black Magic Craft), I covered the entire thing as a whole to both seal in all of the details as well as prime the structure for the next painting/weathering stages. The Mod Podge has the advantage of adding extra strength to a brittle building that was still just dollar store foam and balsa wood at its core. Gotta say, I’m a huge fan of the BMC Mod Podge mixture and I’ll be employing that method on any other craft builds like this in the future.


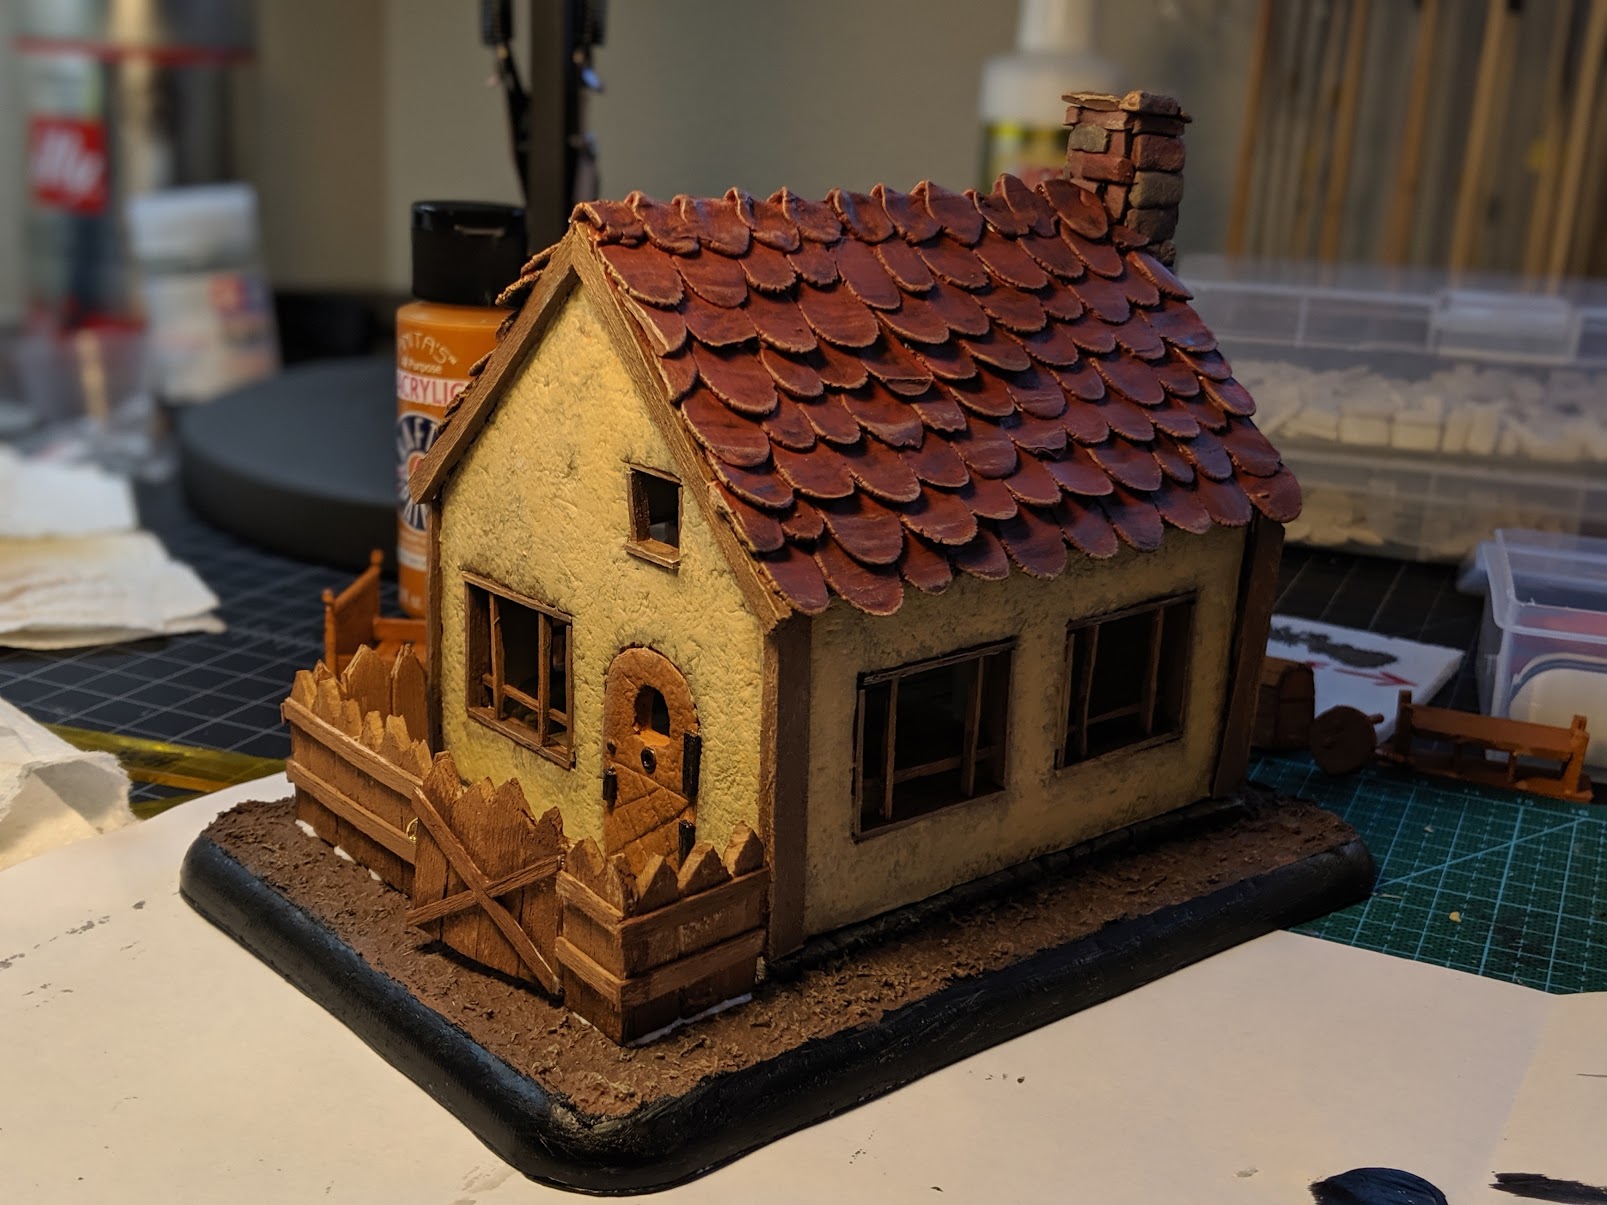
Painting and Weathering
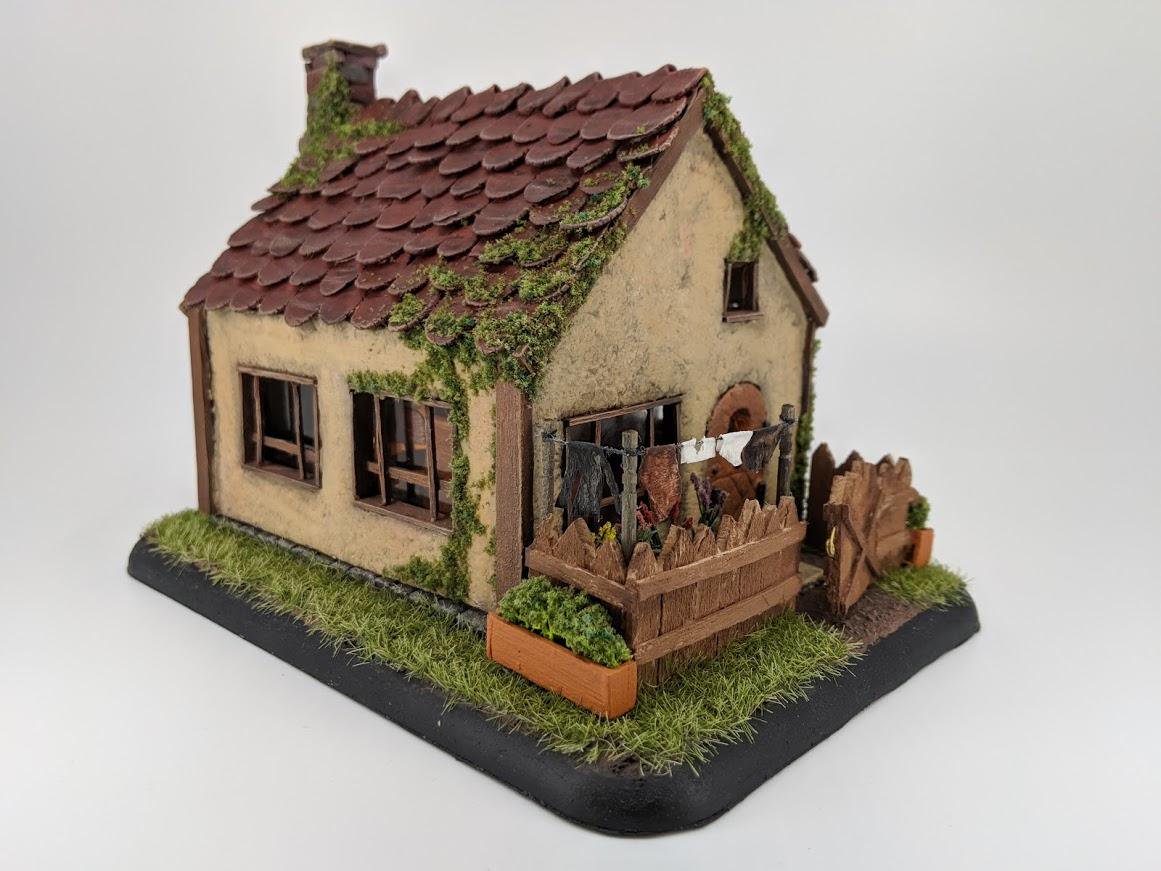
A few layers of paint later, it's now recovering from looking like a charred mess. The dirt around the house is a mix of brown paint, tacky glue, and actual dirt from the outside world. The chimney was painted in various colors to give a less uniform look. After a few layers of paint (until the black Mod Podge is no longer showing through), I dry-brushed the house using a delicious latte-colored acrylic paint to add some highlights. Once paint is complete, the house is doused in a few layers of black and brown acrylic washes using a recipe from Black Magic Craft. These washes are meant to seep into all the little nooks and crannies to give the appearance of both shadows, as well as built up grime that has stuck over time.


Final Details
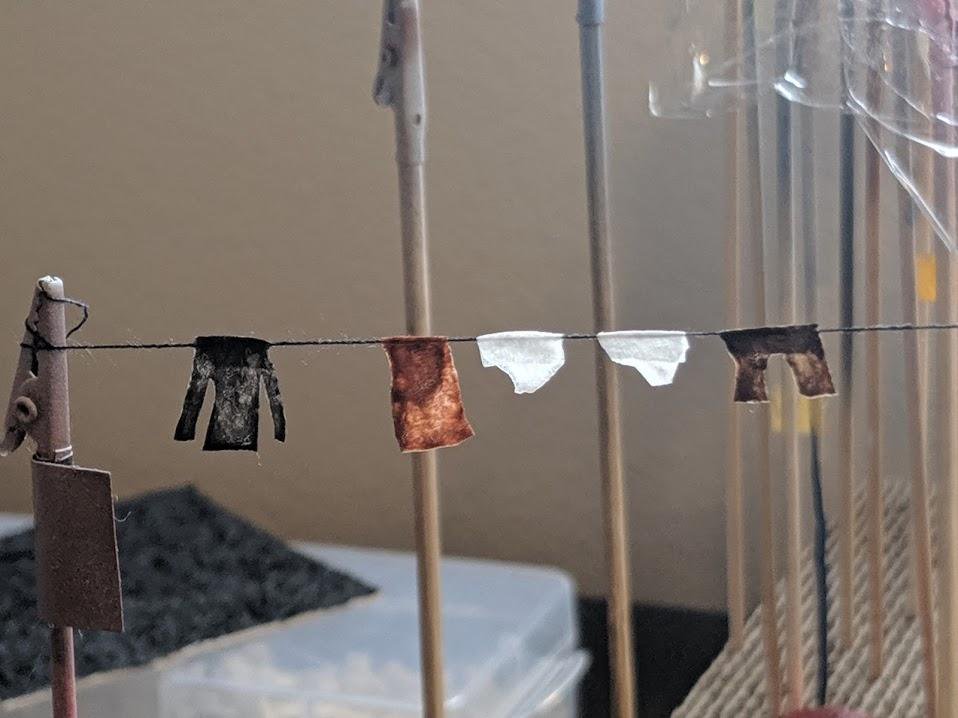
Nearing completion! Some wee details as I neared the end. (1) Built and stained the picket fence, (2) added static grass, (2) made some carrots and tiny knife that could actually cut you badly, made from the broken off tip from a craft knife, (3) made miniature bedding using tissue paper and watered-down glue to ad stiffness, (4) made a tiny clothesline, (5) built a tiny wheel barrow with a tiny tree that’s ready to be planted, and (6) added moss/ivy using green flock and watered down PVA glue (Elmer’s glue).


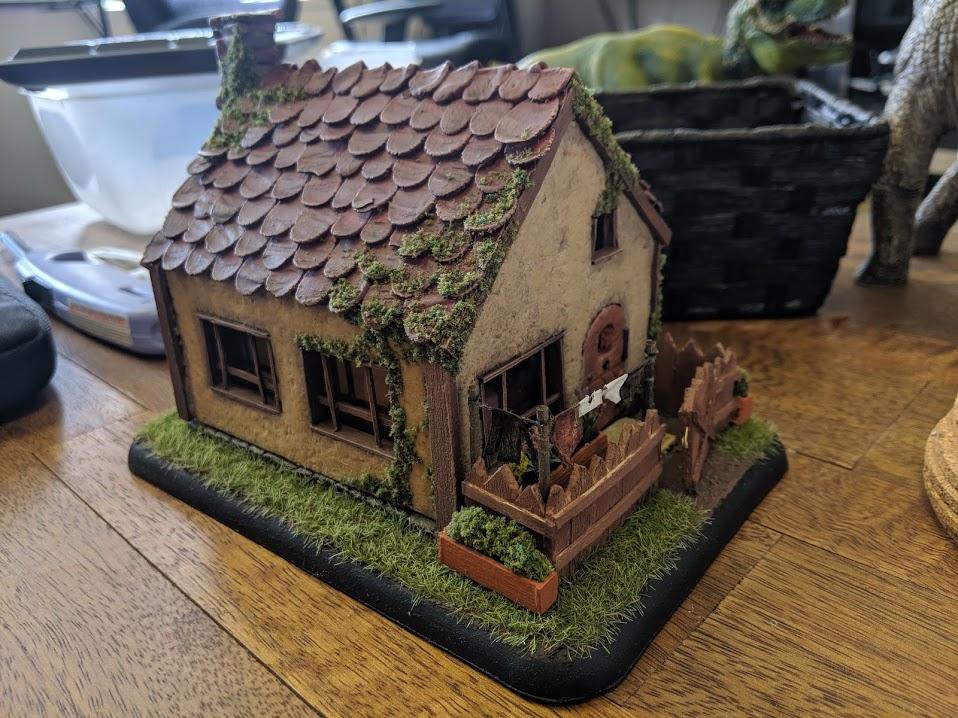
It’s complete! Thanks for reading and checking out my process, friends. Hover, click, and drag over the cottage below to give it a spin!